
Now that the wedding has come and gone I am having major withdrawals! Everyone warned me that this might happen but without even a honeymoon to help ease me into reality it's been rough (my new countdown is for Tahiti in October. It can't come soon enough!).
Don't get me wrong, being a newlywed is one of the best feelings and we couldn't be happier!! I just wish I could hang on to that Wedding bliss a tad bit longer....
So what's a girl to do? Blog about her wedding projects of course! As promised, here are the steps I took in creating my photo booth backdrop.
Yes, I'm a goofball and I have insanely gorgeous friends...

Disclaimer: This took a lot longer than I had anticipated!! If I could do it again I would change up a few things.
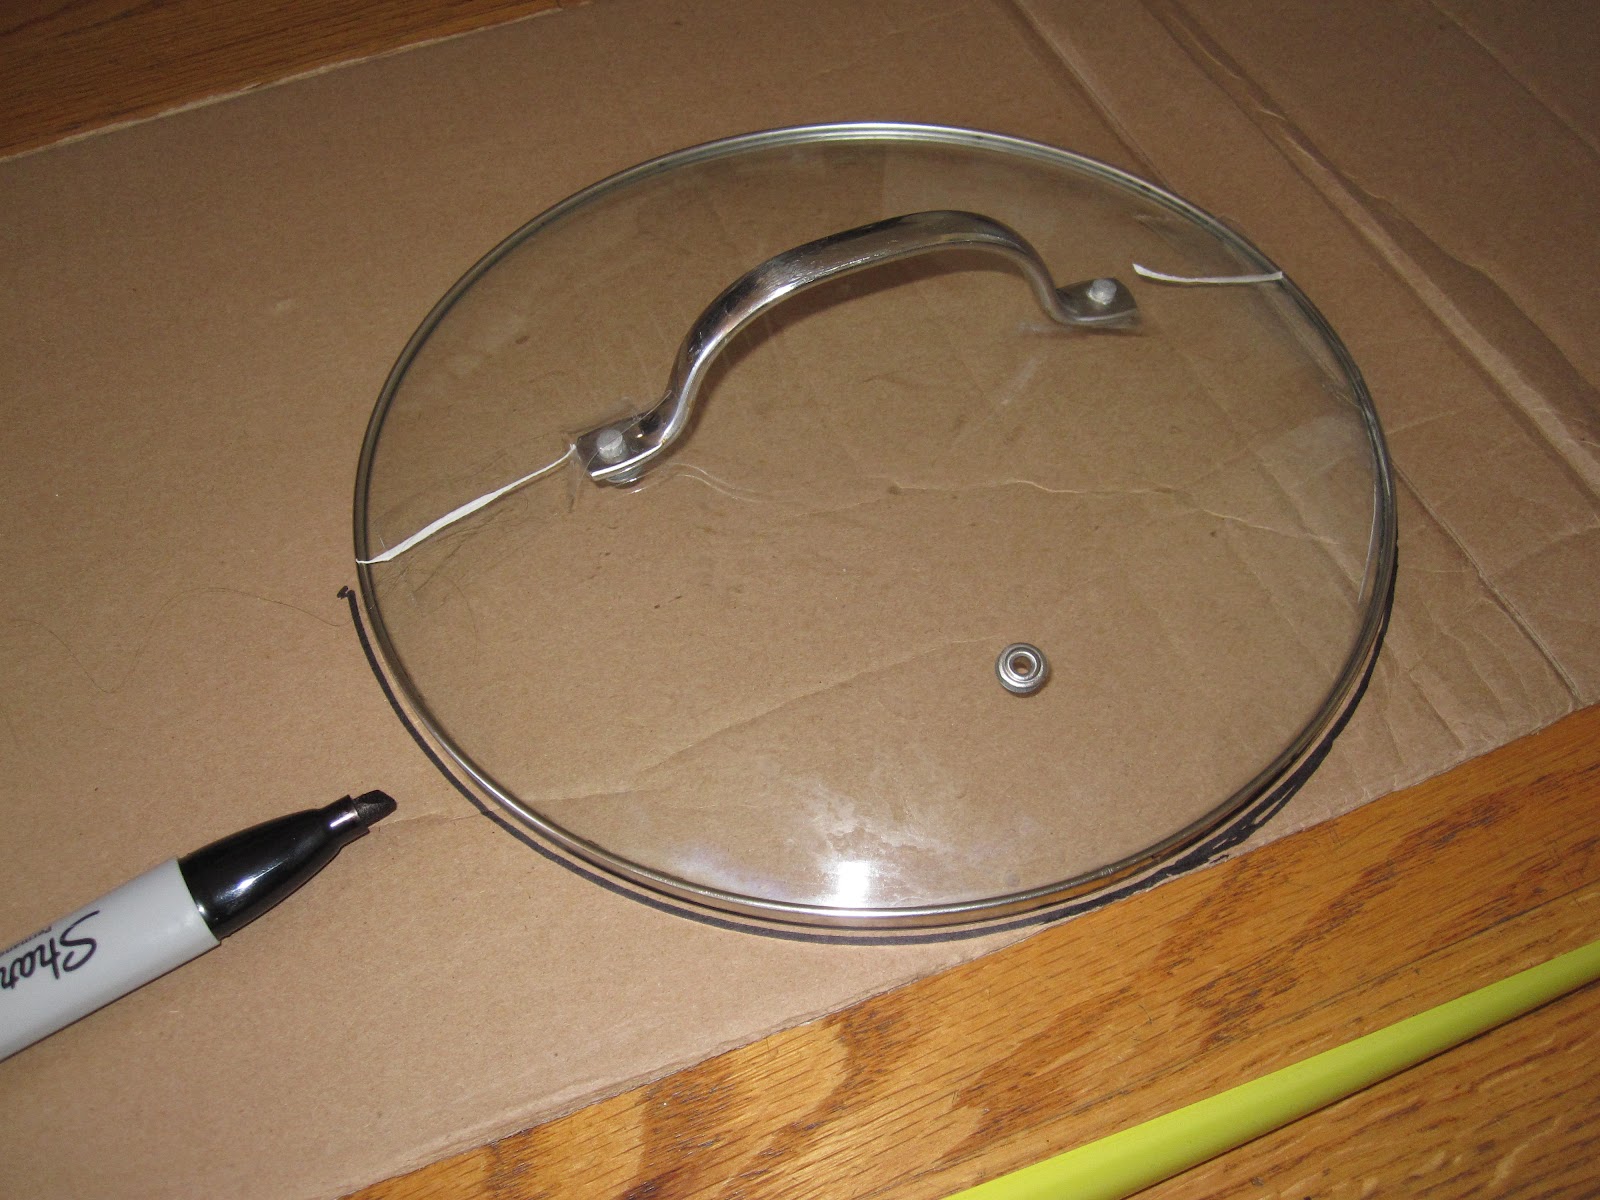
STEP 1 - MAKE SCALLOP TEMPLATE
I created an 8'strip of cardboard from one of the many gift boxes we received in the mail!

I then searched my apt for any circular shape that was the right size. This pot lid did the trick! The handles helped me find the center line so I could create a half circle shape. I grabbed a marker and started tracing along the cardboard strip.
STEP 2 - CUT FABRIC STRIPS
8' long and about 15" high - this took a LOT of fabric!

STEP 3 - CUT OUT SCALLOPS
I used a sewing crayon to trace the template onto each strip of fabric - all 29 strips!

I laid out a couple strips to make sure the pattern was lining up right...

STEP 4 - DYE THE FABRIC
This is where a whole day can be wasted. I thought it would be easy enough to just dye the strips of fabric with Rit Dye and create an ombre affect. This took me 9 straight hours of running the washer and dryer!! (I made sure to run the cycle on low so I didn't use too much water). Thank goodness for best friends that have a W+D in their apt for me to use.
**This is where I failed. It would have been much easier to find fabric in the colors you want. It would have cut back on time and helped control the colors
(it was always a surprise to see what color the dye created!)

STEP 5 - PUT IT TOGETHER!
Time consuming? YES! I laid out each fabric strip one by one on top of a large flat sheet. If I didn't like the gradient color I would have to lift it up carefully and re-arrange. Once I was satisfied with the layout I used a large glue gun and set it in place. I then secured flaps of Velcro throughout the top and sides so it could be secured to the pipe stand provided by the photo booth company.


5 comments:
Oh this looks so awesome!! Love it love it, but yes looks crazily time consuming. Has to feel good that you did it all yourself, right?
You look gorgeous, congrats!
Lindzers you are out of control! Amazing work!
Thank you!! Definite labor of love but glad it worked out :)
LP ~ Heroic! And unfortunately, i have tried Rit Dye as you did, and often had exactly that issue and stopped trying... it is sooooo time consuming, ends with odd coloration differences, and ISSUES in general! So tough! There is another brand of dye that is better yet still imperfect, I have to look up the name, but I totally agree that you would have saved yourself a lot of grief and effort buying the colors you wanted. :/
That said, yours has that fabulous, hand worked, unique, and timeless quality of something done with LOVE, with whatever time it took, and with whatever made it work. It is beautiful in its imperfection! Be proud.
I'm super happy for you guys and love your pics and DIY instructions...so cute! :) I will hope for some time space warp thing to make October come sooner for you :p
Dylon and Tulip dyes I think were better...perhaps I should try them each again on a project soon :)
Post a Comment